Yoga Poses Lying On Back – Find Out Now!!!
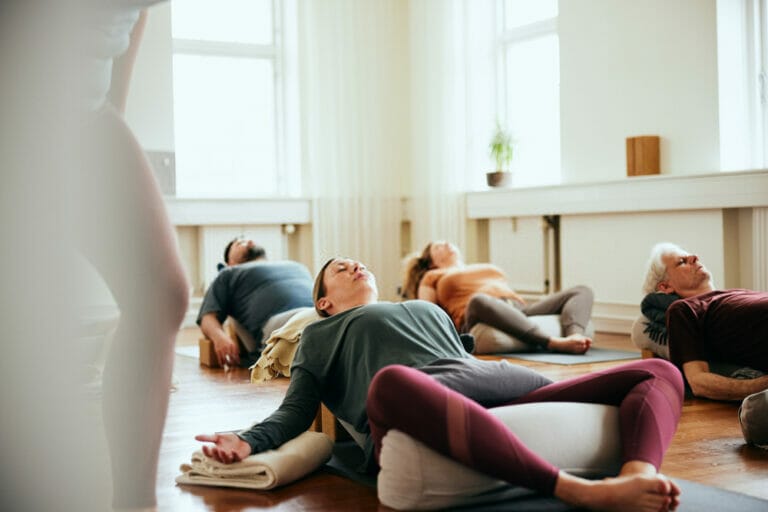
Supine Poses are yoga poses performed while lying flat on our back, facing up. It implies that these poses are adaptable, relaxing, and accessible to everyone.
Therefore, supine postures are suitable for all body types and all levels of yogis, from beginners to experienced yoga practitioners.
If someone has knee discomfort and pressure, for example, the lying posture releases the force of gravity against the joints and is thus an excellent way to keep healthy!
It is much easier for people to reach for these postures than standing postures for people wanting to improve their range of motion.
In addition, lying down in these postures creates more movement in the body, which can help elongate muscles and open them up.
However, because there is no physical resistance and gravity is working against you, most people prefer to keep them brief while still keeping their backs as supported as possible.
Let’s take a look at the different yoga poses which you can do lying on the back:
Supta Matsyendrasana (Reclining Spinal Twist)
This pose is the opposite of Matsyendrasana (Rising Spinal Twist). It is a variation where one lies down and performs the twist while looking to the side instead of up.
How to do it:
- Lie flat on your back with your arms extended straight in a cross shape.
- Take a deep breath, then exhale and twist your hips to the left, crossing your right leg over your left. Your right leg is bent at a 90-degree angle, while your left leg is straight.
- Place your left hand on your right knee and let gravity and your weight slowly move it closer to the ground.
- For a mild and pleasant spinal twist, turn your head to gaze across at your extended right arm.
- Relax and breathe for as long as you like in this posture, then repeat on the opposite side.
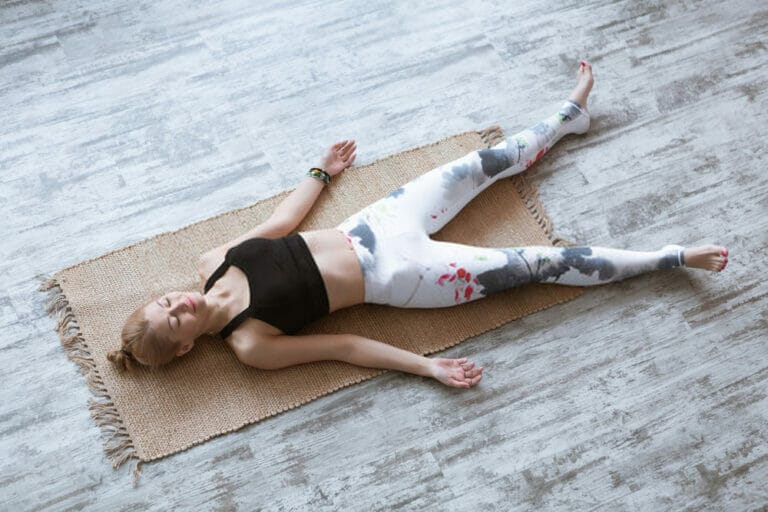
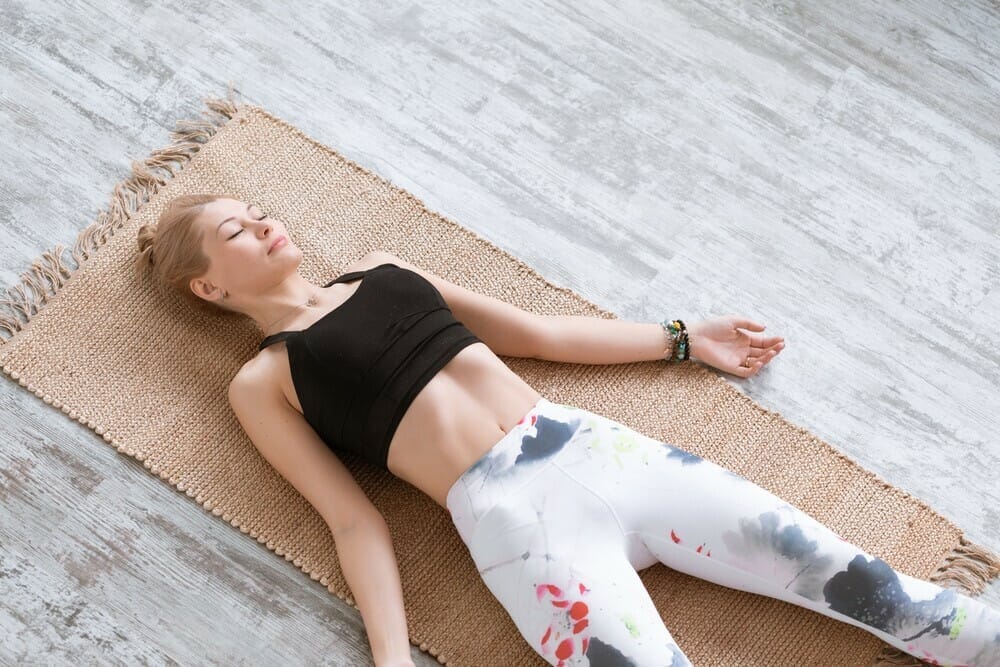
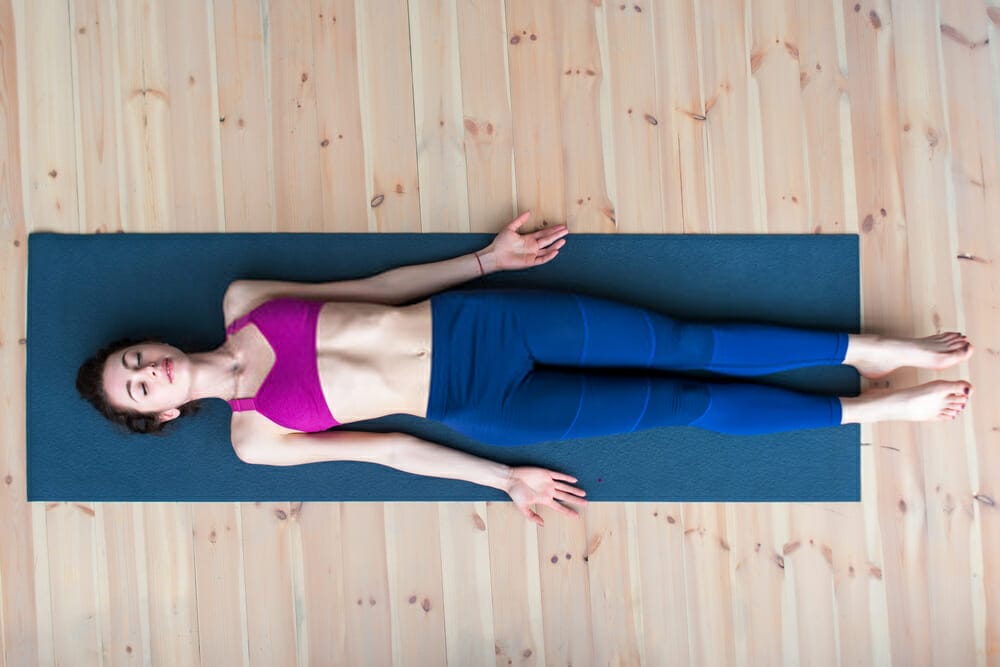
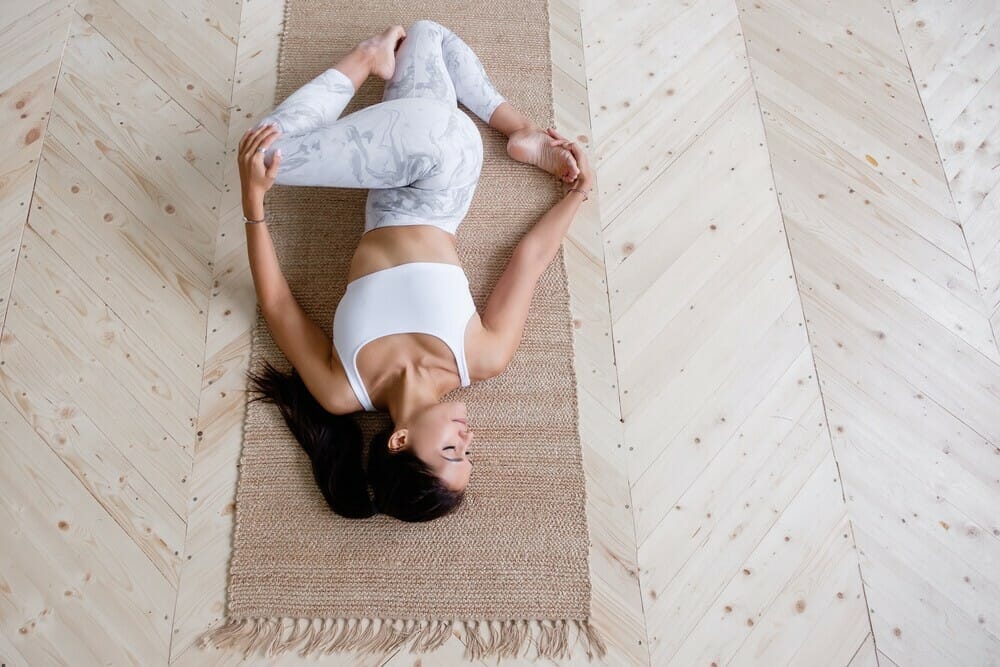
Shanti Asan (Corpse Pose)
Because this asan relaxes and calms the body and mind, it is known as Shanti asan (Peace asan or Corpse asan).

How to do it:
- Lie to a face-up position with your feet on the mat’s corners. Allow them to fall and point outward.
- Place your arms out at your sides, palms facing up.
- Close your eyes and allow your body to relax and release all stress from every muscle, organ, and pore.
- Melt and savour in this Shanti asan posture for as long as you like.
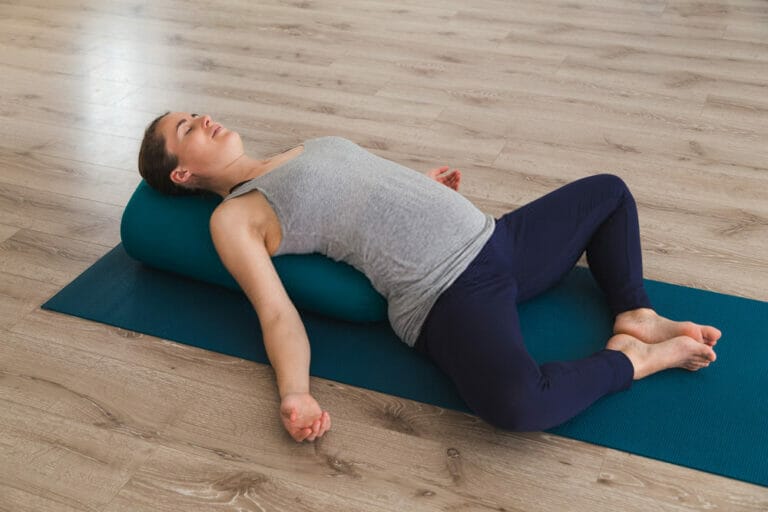
Setu Bandha Sarvangasana (Bridge Pose)
This yoga asana will improve and strengthen your abdominals.

How to do it:
- Lie on your back with bent knees and heels pressing into the ground.
- Fold your arms vertically across the chest with palms upward, as shown in the image above.
- With your legs and arms in this position, lift your hips off the ground slightly, allowing yourselves to straighten one leg at a time. Reach one arm up and around in front of you for support as needed.
- Hold this position for as long as you can.
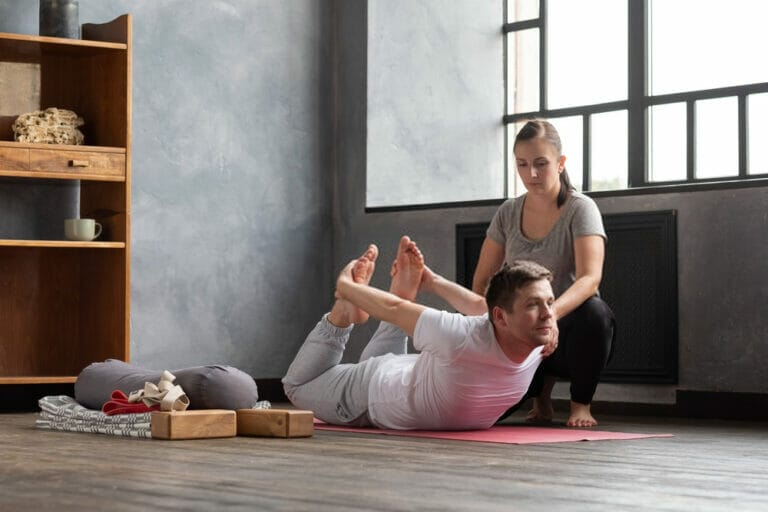
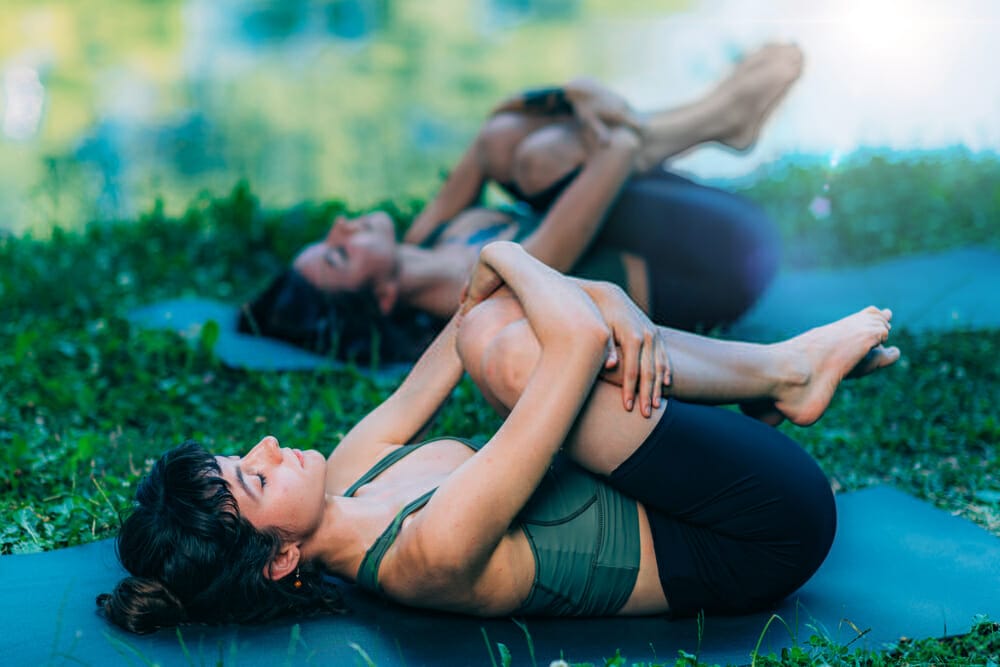
Supta Pavan muktasan (Wind Relieving Pose)
This pose is said to benefit the lungs, heart, and spine. It also improves the range of motion in the lower back, hamstrings, and hip flexors.
How to do it:
- Inhale while lying face up with your ankles together.
- Exhale by bending your legs and bringing your knees up to your chest.
- Wrap your arms over your knees and gently pull them closer to your chest.
- Bring your brow to or near your knees. Take care not to strain your neck.
- Repeat the process of inhaling and exhaling until you feel the tension leaving your body.
- Repeat this process as long as you feel necessary.
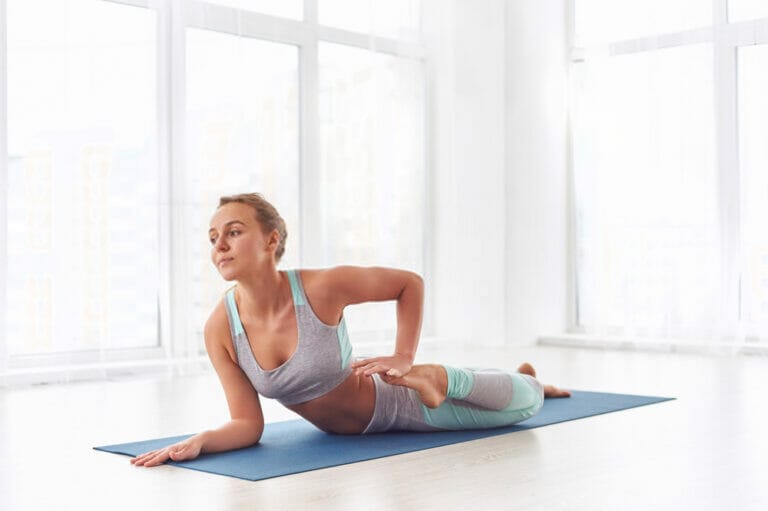
Supta Merudandasan (Set of various asanas)
This asana is a series of various other poses. It has gentle movements that can strengthen the back muscles.
How to do it:
- Stretch both hands sideways while lying on your back with your legs straight.
- Raise the right hand and place it on the left palm, forming the namaskar position.
- Later, return your right hand to your right side.
- Lay your left hand on your right palm. The backbone alternately twists to the left and right sides.
Supta Chakki chalan Kriya
This asana is named after the movement of the hands when flouring wheat or jawar on a standard chakki (Indian grinder).
How to do it:
- Stretch your hands and legs straight while lying on your back.
- Fingers should be interlocked.
- Now, rising from your waist, begin a circular rotation of your hands so that your fingertips meet your toes on each round, breathing out.
- Rotate in the other way after 4 to 6 cycles. Again, elbows and knees should not be bent.
If a person cannot move their body with stretched legs due to weakness, they can do this while sitting.
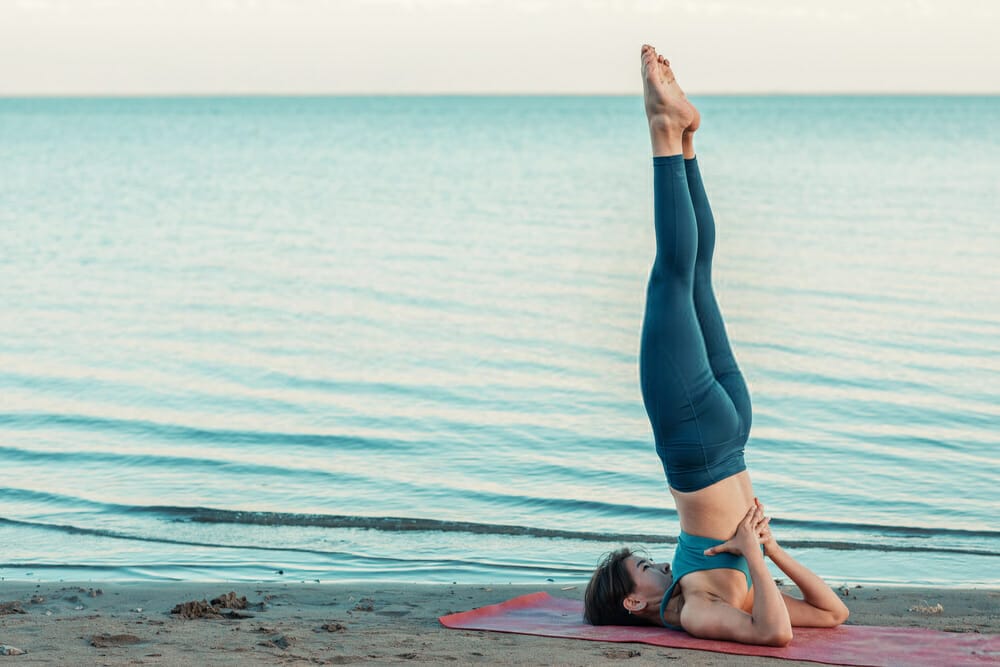
Sarvangasana
The term Sarvangasana means all asanas or poses. It combines two words: Sarva, which means entire, and Anga, which means body.
How to do it:
- Fold the knees such that the heels are in contact with the hips.
- Raise both knees and bend them towards the stomach.
- Lift the hips with a jolt, gripping the waist with both hands. Your Shoulder and head are resting on the floor.
- Now, straighten both legs. Sarvangasan’s final and most crucial position.
Padma-sarvangasan or Urdhva padmasan
It is a combination of Sarvangasana and Padmasan. Hence it is known as Padma-Sarvangasana.
How to do it:
- Fold your legs from the knees to achieve the Padmasana posture while in the Sarvangasana. This shift occurs in the middle of the practice when performing Sarvangasana.
- Later, open the Padmasan and the body in Sarvangasana before resting in Shanti asan.
- Maintain your equilibrium so that you don’t fall.
Safety tips while performing these exercises
- Do not overstretch while performing any of the asanas.
- Always be sure to maintain proper posture and balance to prevent injury.
- Do not perform these asanas when you are exhausted, uncomfortable, or sick because they may cause injury to the body or worsen an existing condition.
- Pregnant women and people with a weak immune system should avoid practising these asanas.
- If you perform these exercises for an extended period, take an adequate amount of rest between each asana to prevent injury and fatigue. Also, practice these techniques under the supervision of a trained teacher.
The Bottom Line
Yoga is always a good idea. It’s a way to make yourself feel better on several levels. Whether you’re looking to improve your posture, flexibility, or strength, yoga can help with all of those areas.
Endless as it may seem, this list is just the beginning of what's possible with yoga poses for back pain relief.
People have been doing yoga for thousands of years, so there is a lot of wisdom in these poses. They can reduce stress in your mind and body while increasing oxygen flow to your blood and muscles.
Supine Poses are restorative and may be performed by anybody. They are helpful to people of all ages, genders, and ability levels since they are versatile. They are an excellent way to begin or finish your day.
Feel free to experiment and combine your favourite Yoga postures with these supine poses during your next yoga exercise!