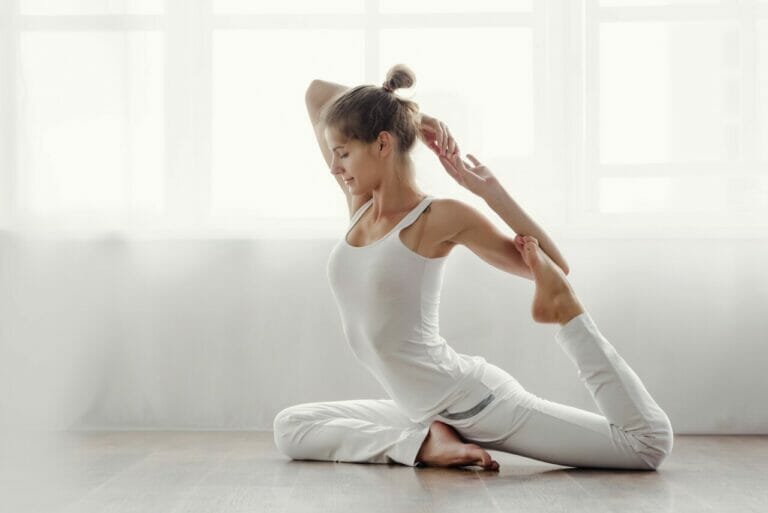
Ashtanga Yoga: How To Practice At Home
Practising yoga at home is better if you can memorize the sequence.
If you pay attention to the signs and follow the different streets, it’ll be easier to remember your way.
Are you also thinking of practising Ashtanga yoga at home? The good news is that you can practice Ashtanga Yoga on your own. It may feel like it takes a guide, but you don't need one.
Ashtanga yoga is well-designed to practice six days per week and is more comfortable to practice at home.
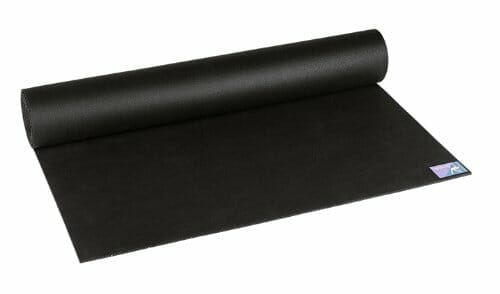
You just need a little determination, strategy, and enough room in space for your yoga mat.
This article outlines how you can practice Ashtanga yoga from home.
Let’s get started!
What is Ashtanga Yoga?
Ashtanga Yoga is the same as traditional Indian yoga practice that involves physical postures, breathwork and meditation.

The term Ashtanga means eight-limbed. (Ashta means eight + anga means limb). The eight limbs are disciplines that a yogi must follow to achieve self-realization.
Some of these include Patanjali’s ethical principles, the Yamas and Niyamas, and the Ashtanga Vinyasa Yoga system of practice.
Ashtanga yoga is a set of yoga postures that are performed in a specific order. These poses are linked together with the use of a belt and breathing techniques.
The Ashtanga yoga repeats itself in particular sequences, which are called vinyasas. Vinyasas are those yoga postures that are linked together with the use of a belt and breathing techniques.
How To Practice Ashtanga Yoga At Home?
Every Ashtanga vinyasa begins with a standing pose known as the Surya Namaskara, which means “salutation to the sun”.
The second pose in a vinyasa is called Uttanasana, which means "with stretched arm" and is part of the Surya Namaskara. It is a standing pose that includes a forward-folding movement.
Thus, the Ashtanga sequence, in general, consists of six series of different postures and standing positions.
Each Ashtanga yoga posture begins with a counterpose or an antidote, which helps relieve tension from the main pose. These counterposes are called the "Vinyasas".
The whole series of postures is known as the Ashtanga Sequence. The counterposes for each pose are called the “Vinyasas”.
Vinyasas are repeated to form the flow of practice. Here are the six vinyasas:
- Surya Namaskara(standing)
- Trikonasana (triangle posture)
- Virabhadrasana II (warrior II pose)
- Adho Mukha Virasana (downward-facing-dog pose)
- Virabhadrasana I (warrior I pose) + Ardha Chandrasana (half moon pose) -> transition to chaturanga dandasana(plank posture), followed by Uttanasana (standing forward fold pose)
Surya Namaskara (standing)
The first Ashtanga yoga pose is Surya Namaskar, which means “salutation to the sun”. This posture begins the entire sequence of yoga. It is performed by standing on one foot.
The pose has two halves, both of which are linked together with the use of a belt. The poses begin in quick succession and link up to form a balanced Ashtanga yoga sequence.
- First half: Surya Namaskar (standing on one foot, raising the back leg up)
- Second half: Utthita Trikonasana (extended Trikonasana)
Trikonasana (triangle posture)
The second yoga pose is the standing Trikonasana. It is a triangle pose with both feet grounded and brings the hands up onto the hips. It is followed by balancing on each foot while bending forward in the torso.
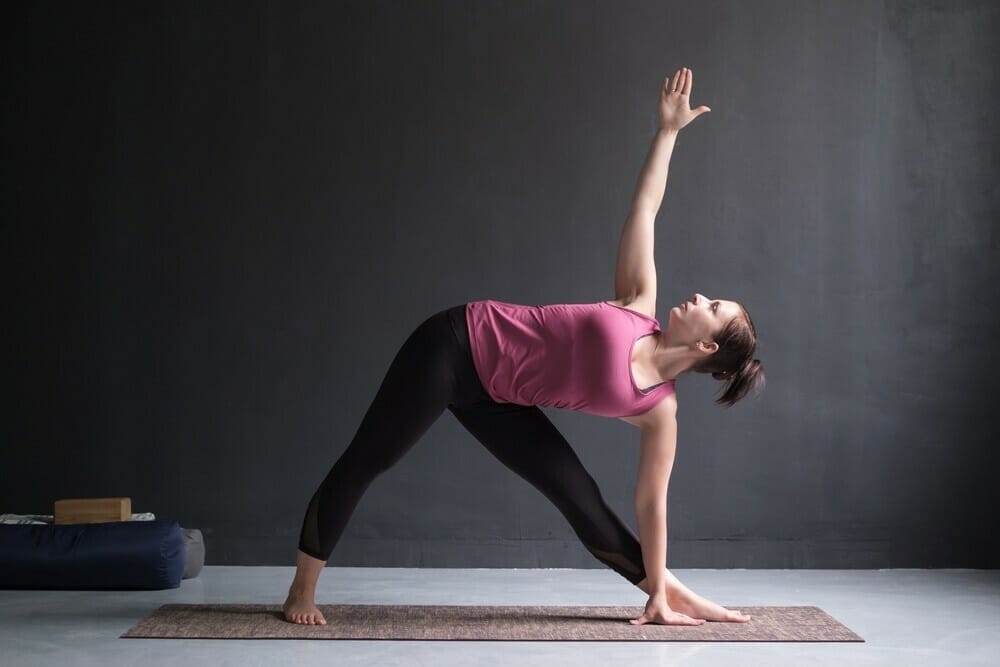
This vinyasa is repeated while standing on the left foot, leading to the next Ashtanga yoga posture.
The second time around, you focus on lifting the hips and bringing them in line with your shoulders. This movement is called Urdhva Mukha Svanasana (upward-facing dog).
The third time around, the knees flexion and the palms touch down on each side of the feet. It is called Uttanasana (extended pose).
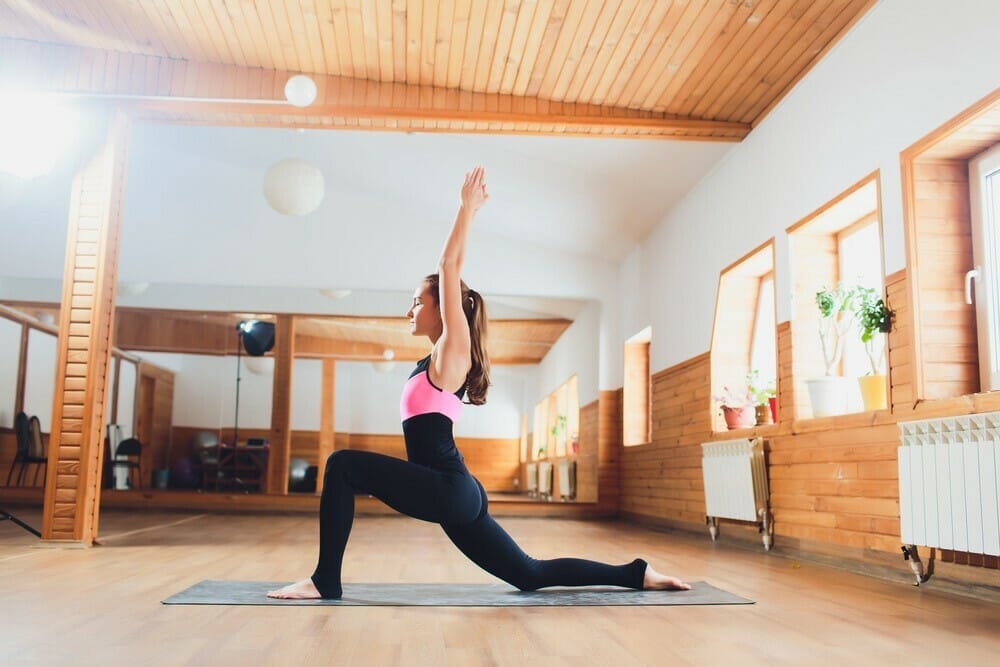
Virabhadrasana II (warrior II pose)
The third vinyasa is the Virabhadrasana II. It is a standing pose with arms extended and facing outward. It involves an extension of the spine, stretching the elbows and head out to the sides.
The posture resembles a warrior stance and helps stretch the hamstrings, which are straightened as they connect to the hip bones. In addition, it helps to strengthen the quadriceps muscles.
This vinyasa is repeated without a belt inversion. The arms are lifted up and lowered back down to a forward fold stance to complete the pose.
The position of the feet in this vinyasa depends on the phase of practice. You can either keep them on the ground or lift them and place them on the heels.
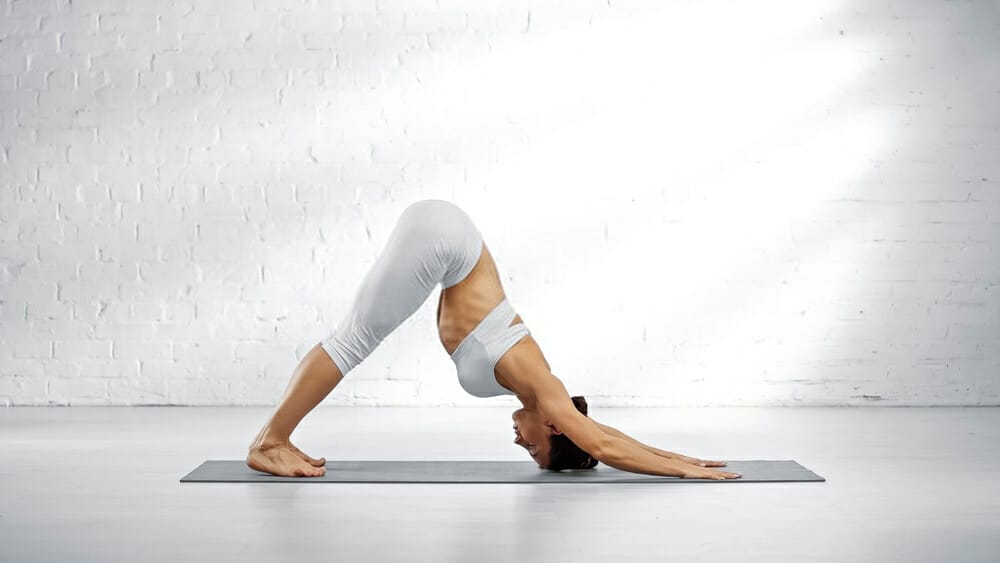
Adho Mukha Virasana (downward-facing dog)
The next posture is inversion Abhaya Chaturanga(half Turkish bow). This pose begins with balancing on the toes rather than the heels.
The arms are perfectly straight and bent at the elbows with palms facing up. The lower legs are lifted while pressing the hands into each other, and it forces you to keep balance on your big toes in a single point of contact with Earth.
This vinyasa is repeated while standing on the feet, which leads to the next Ashtanga vinyasa: Adho Mukha Virasana (downward-facing dog).
This posture continues for the same duration as the first and second vinyasas. The thumbs are kept facing upward, while the fingers face downward.
Then, there is a transition to Uttanasana (standing forward fold pose), which leads to chaturanga dandasana(plank posture).
The third time around, the knees flexion and the palms touch down on each side of the feet. It is called Uttanasana (extended pose).
- Virabhadrasana I (Warrior I pose) + Ardha Chandrasana (half moon pose) -> transition to chaturanga dandasana(plank posture), followed by Uttanasana (standing forward fold pose)
The warrior I pose is repeated without the belt and with feet grounded. It is followed by the half-moon pose, which involves lifting one leg and balancing on the opposite side.
Finally, the transition to chaturanga dandasana (plank posture) is done using a belt.
This vinyasa is repeated while standing on the feet and is followed by chaturanga dandasana (plank pose).
The third time around, the knees flexion and the palms touch down on each side of the feet. It is called Uttanasana (extended pose).
Best tips on how to practice Ashtanga yoga at home
- Expect to Fail— Nothing is easy on your first try in the Ashtanga Yoga discipline. It is a realization of the value of practice. Instead of making it easy, the method asks that you strengthen your mind.
If you can learn to love yourself in the face of repeated failures, you'll get equipped for life. In your first yoga class, you'll feel overwhelmed and not sure what's happening. It gets easier the more years you practice.
- Start Small and Build Up Incrementally— Don’t take on too difficult a task. As a beginner, I recommend starting with Sun Salutations before going on to the Full Primary Series.
If you're trying to get inspired by the Full Primary Series, watch the first few minutes and then follow along. Next, when you're ready to finish, jump ahead to the final closing lines.
Once you’ve learned the basics of the Sun Salutations, you can start including Standing Poses, and then Seated Poses until you’ve built up your knowledge of the Full Primary Series.
- Focus on the Breath, Not the Pose—The very essence of the magical exercise is through the conduit of breathing. Deep breathing with sighs tends to tie together conscious and subconscious.
When you practice Ashtanga Yoga, each pose is an opportunity for you to inhale and exhale. Therefore, your breath is the essential thing in any pose. Once you start paying attention to it, you'll find out what your body is doing.
- Watch the Tutorials— If you’re intimidated by a pose, it’s not your fault. You can take tips from a qualified teacher to help you get started by watching tutorials online.
Hence, figuring out how to think about the technique of the asana assists you with understanding how to work. It can change a feeling of helplessness to a sense of hope.
- Feel Your Body—The purpose of yoga is to become more aware of your body and the different feelings. Instead of trying to become an expert on any one pose, you should try to bring awareness to your whole body.
When your body gets adjusted with the infinite light of consciousness, you will wake up to the reality of who you are.
- Study—In addition to your daily asana practice, read for a while. Pick up the key texts of the Ashtanga Yoga method and learn more about how these work.
Once you understand the practices' more profound elements and intentions, it will be easier to know how it works.
- Don’t Push or Force, Just Be—It’s tempting to force your body into positions it may not be ready for, but try to go at your own pace. Have a healthy attitude towards your body; never force or push yourself.
Practising loving-kindness with your body is a way to deal with when you feel that urge to go.
- Never Give Up—If you feel weighed down by worry, watch a stimulating video to motivate yourself. Or, if you’re feeling overwhelmed by a lack of direction, ask a fried for help.
You can't be where you don't want to be, but you can make it better. And when you become aware of the limitations and obstacles that block your path forward, then you can figure out how to move through and beyond them.
- Finally, take care
To ensure care when doing handstands and dropbacks at the house. Ensure there’s enough space for stretching poses and that you won’t break any furniture, lamps, or other household items. Also, be sure to take your time. Don’t rush.
Take the step to try a pose at any moment, but don’t force yourself into anything that you’re not comfortable with.